[4] Upgrading Physical Security Without Spending a Cent
By Nils Iwakura
Physical Security
You may have good security on the Wired, but that won’t help you when someone breaks into your base of operations and steals/breaks your setup.
This is how to modify your locks to better resist lockpicking, without having to replace your keys.
Tools you will need are:
- A dremel/high speed rotary tool with collet for the diameter of the pins (Fig.1)
- Something to hold the dremel in place (I used a vice, you can clamp it to a table, just get it stable) A pin tray (I made mine out of cardstock that I accordion folded to give me ridges in which to distinctify which set the pins were from (Fig.2))
- Screwdriver or other tool to take out retainer. (Fig.3)
- Tweezers (Fig.3)
- Mini Files. I only used the edge of my thinnest flat file, and the corners of the triangle file. (Fig.3)
Your lock MUST have a removable core. Most doorlocks and high end padlocks should have this. To get to the core, you must take the lock out and get to the back of the cylinder. Different locks have different retaining methods, but the example I used has two screws in the back that you must remove (Fig.4) (another common method is a C-retainer). Remove the retainer, insert your key and turn. It should be able to come out the front, but be CAREFUL, the driver pins will be under spring tension and will jump out and you may lose them, or lose where it was (my example has uniform driver pins, some don’t).
At this point you should make/have a pin tray. If you mess up the order, the original key will not work and you’ll have to try to guess which pins go where based on the key.
Hold or vice up the lock so that the springs and driver pins are coming out upward, turning the key so the key pins are also trying to exit upward (for mine I just turned the lock upside down, and turned the key to be the right way up). Use your finger to cover the back of the hole as you slowly pull out the key with the cylinder. Once you hear the click of the driver pin jumping out of its place, take it out and put it in the tray (this pin should be the very back pin, so it goes in the highest pin number.
Mine is 5 pin so I would put it in the 5th position in the pin tray. Repeat, putting pins in their proper place in the pin tray until there’s no pins left (Fig.2). Fully remove the keyway, careful to keep it upright as to not lose the key pins. Carefully remove the key and put the key pins in their respective spot in the pin tray (Fig.2). You may optionally flip the lock body upside down to dump all the springs out, but if its in a vice you don’t need to worry about it, as long as you don’t tip it over and end up losing a spring. If your pins already have spool, serration, or other security features, then you/your landlord/previous tenants chose a decent lock. You can still cut whatever standard pins are in that lock, but leave the already cut ones alone.
Now comes the fun part. Take a pin and tighten it up in the dremel, trying to leave as much exposed as you can while still having a good hold (if the pin in a key pin, put the side with the 45 degree end into the collet, and cut the other end) (Fig.5). Set the speed to low if you can, turn it on and let it rev up. Now you start cutting into the pin with the files, careful not to touch the ends of the pin (if you do, you’d need to re-key). Aim to cut serrations or spool shapes into the pin (Fig.6). This will make it harder to pick by giving false sets. Repeat this process with as many pins as you like (I did it with all of them to get some practice in).
Once you’ve finished cutting your new security pins, you can start putting everything back together. Start by putting the springs back into the lock body if you took them out. Put all the key pins back into their correct places in the keyway, making sure the right side is down (45 degree end goes in first). Then take your tweezers, putting the driver pin in place before pushing it down and sliding the keyway over it to stop it springing out again (make sure you don’t dump your pins by turning it upside down). Its best to put the driver pins in non-cut side first, as they’ll false set more often. Continue putting pins in and sliding the keyway until all pins are in. Push the keyway all the way in before turning to lock it. Put the retainer back and test it with the key. If it opens, you’re done! Put it back where it belongs and enjoy your more secure lock (or take it with you to DEFCON and try to frustrate the lockpick village).
If you’ve got questions or just think I’m a cool guy and you wanna talk to me, send something over to nils@tfwno.gf
I am not responsible if you go fuck up your lock or if you get hurt doing this. Some of my lock terminology might be incorrect, so forgive me, I’m not a professional.
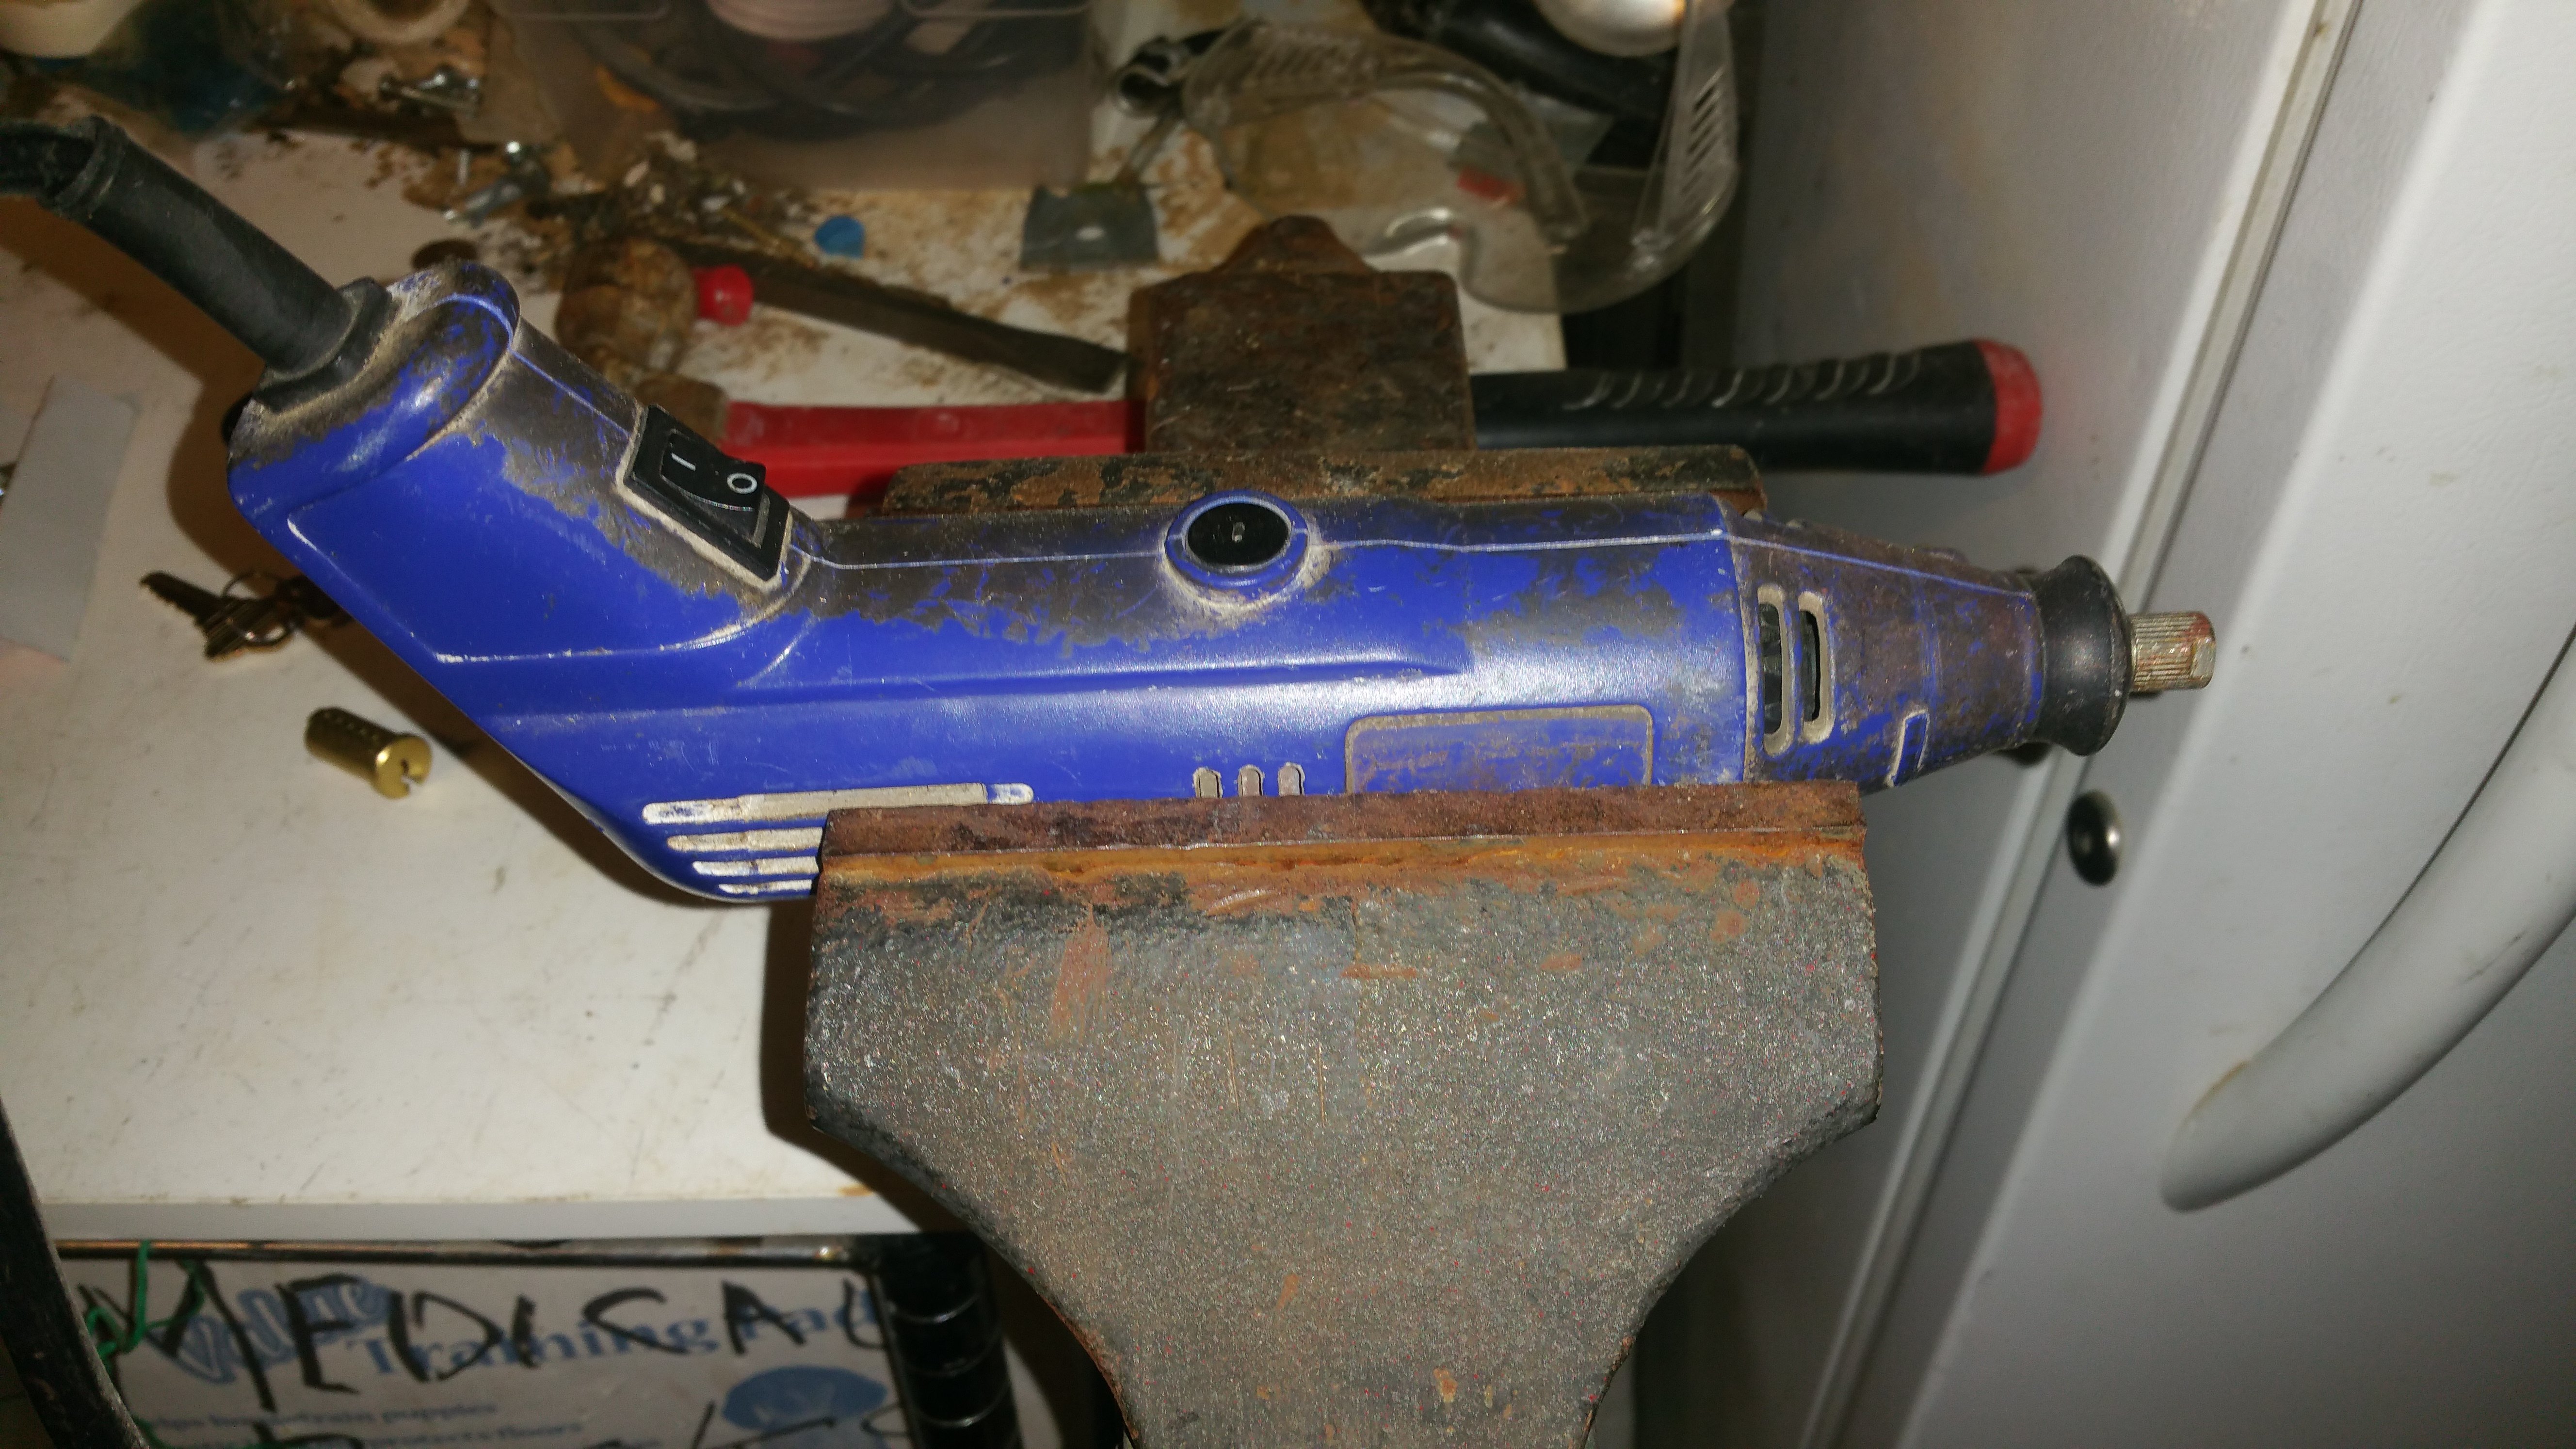
FIG 1) A dremel/high speed rotary tool.
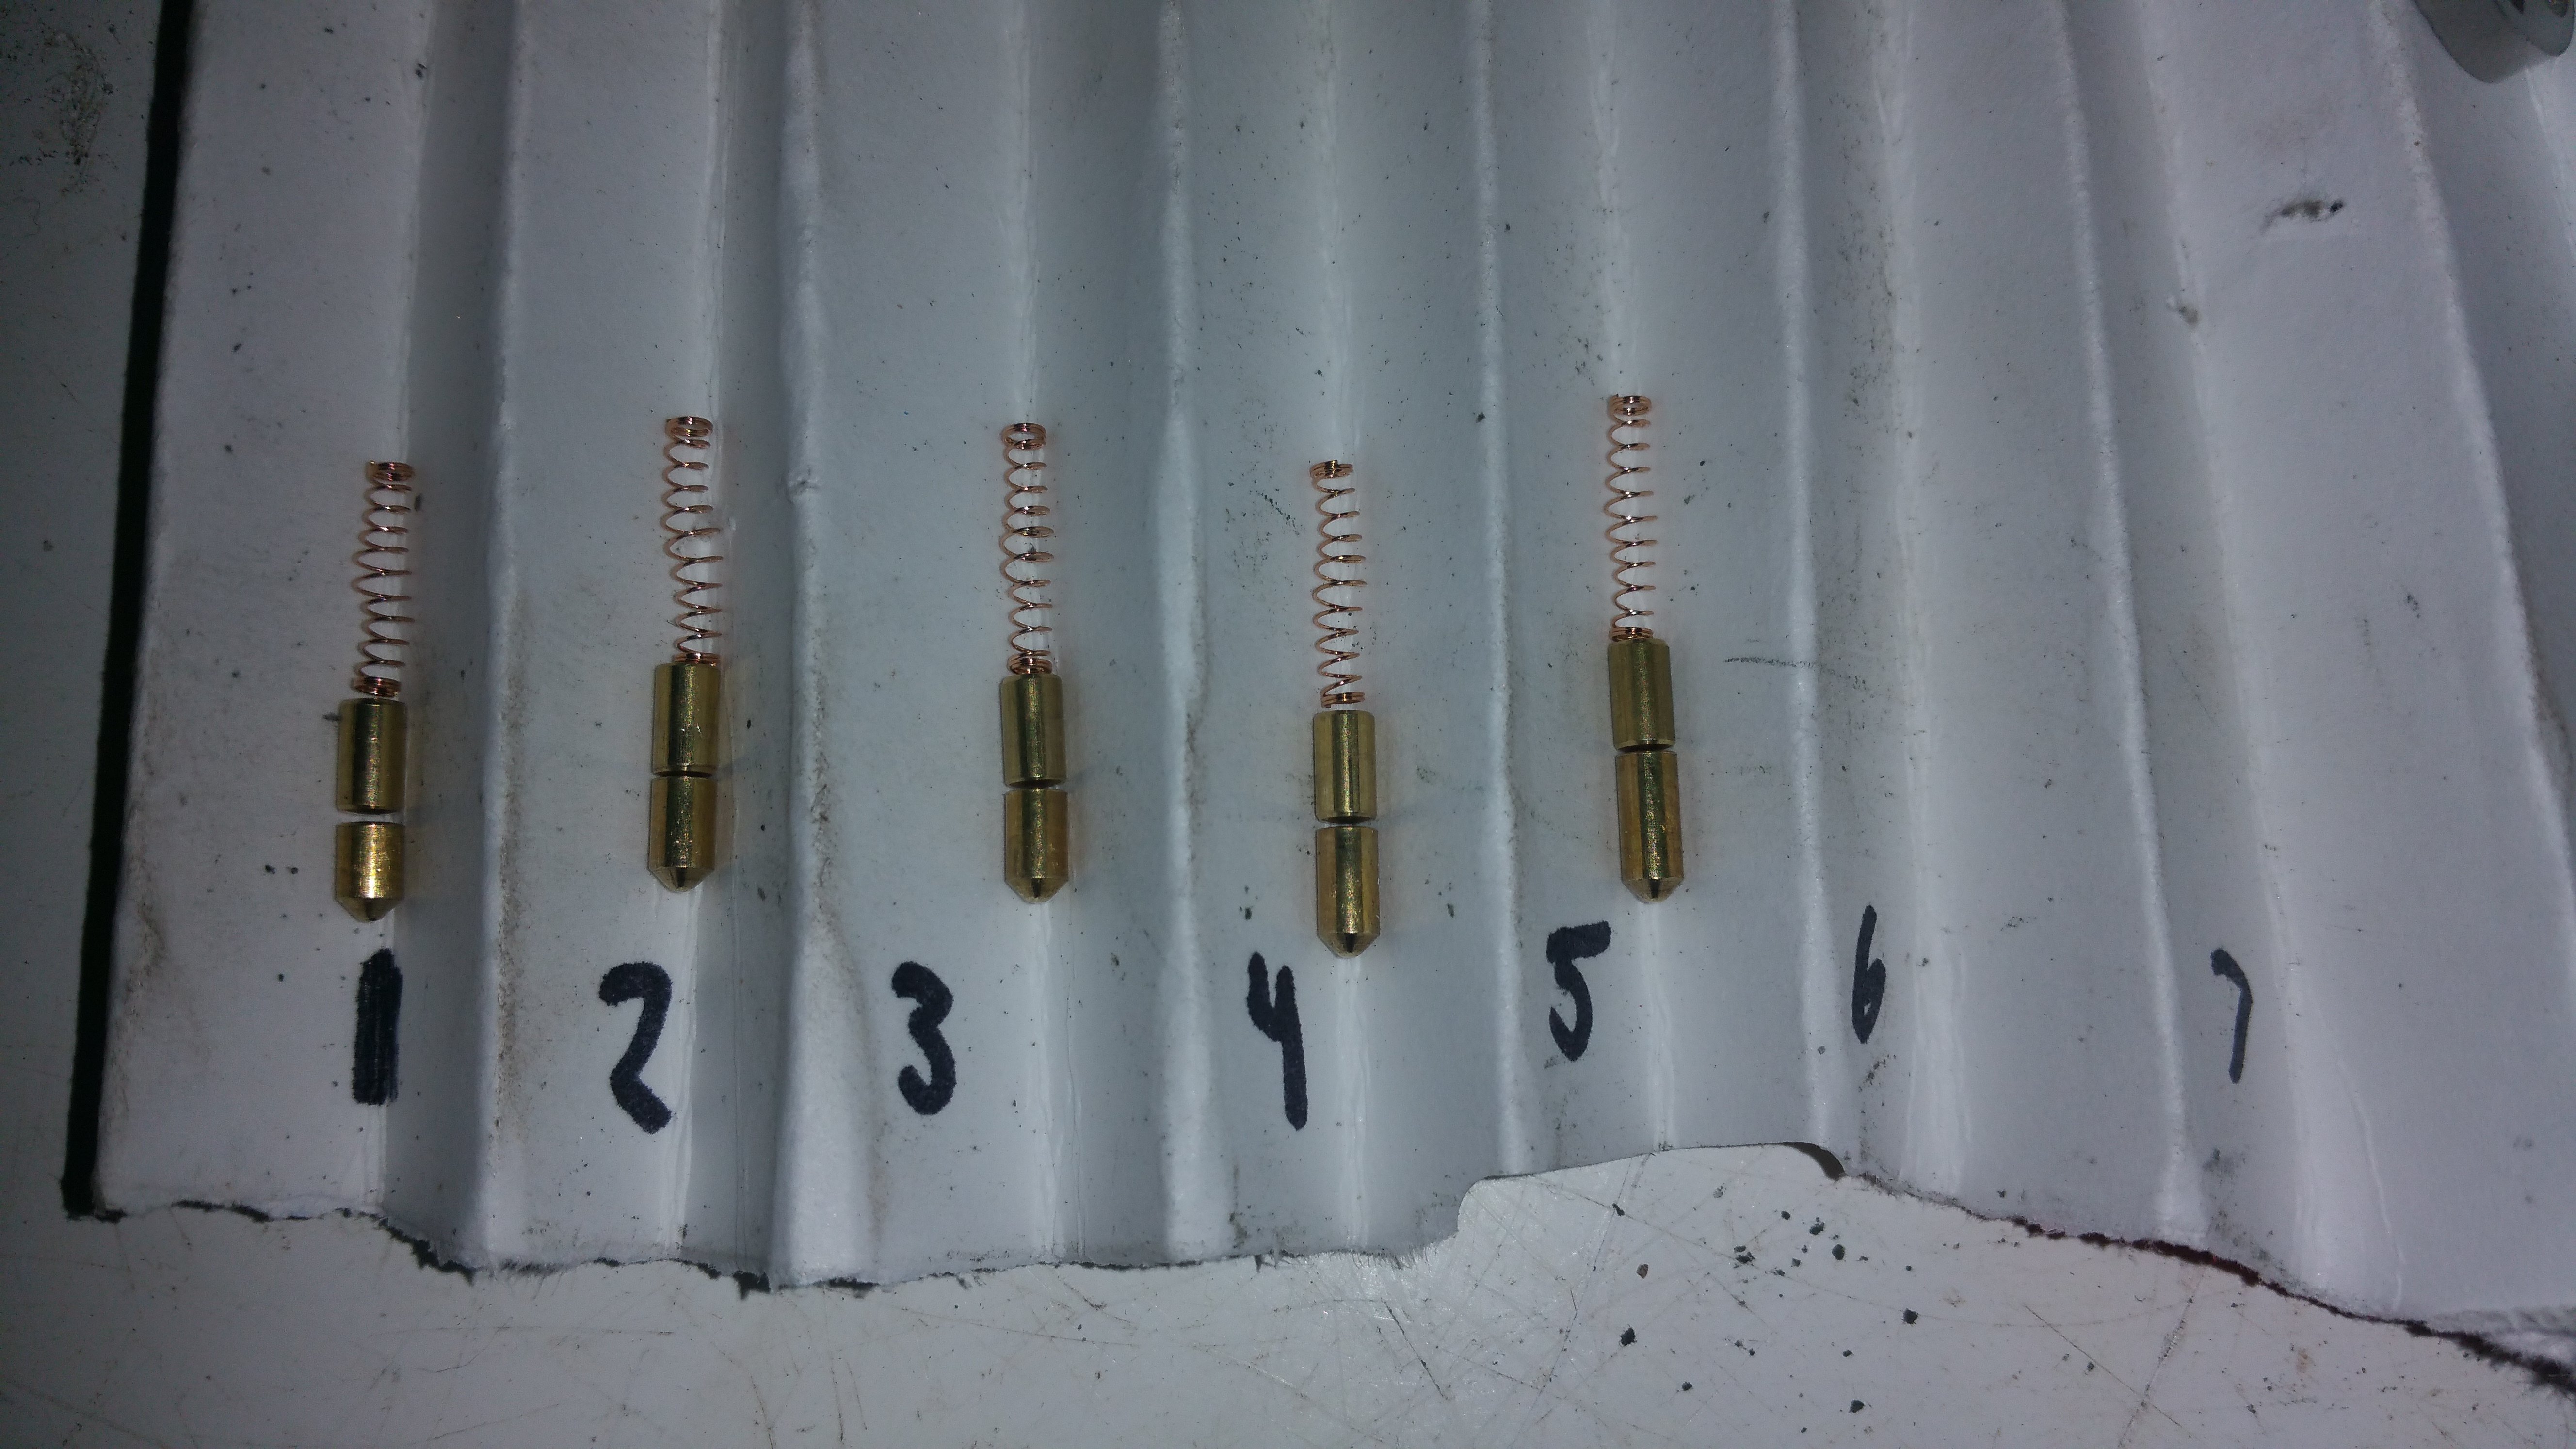
FIG 2) A pin tray.
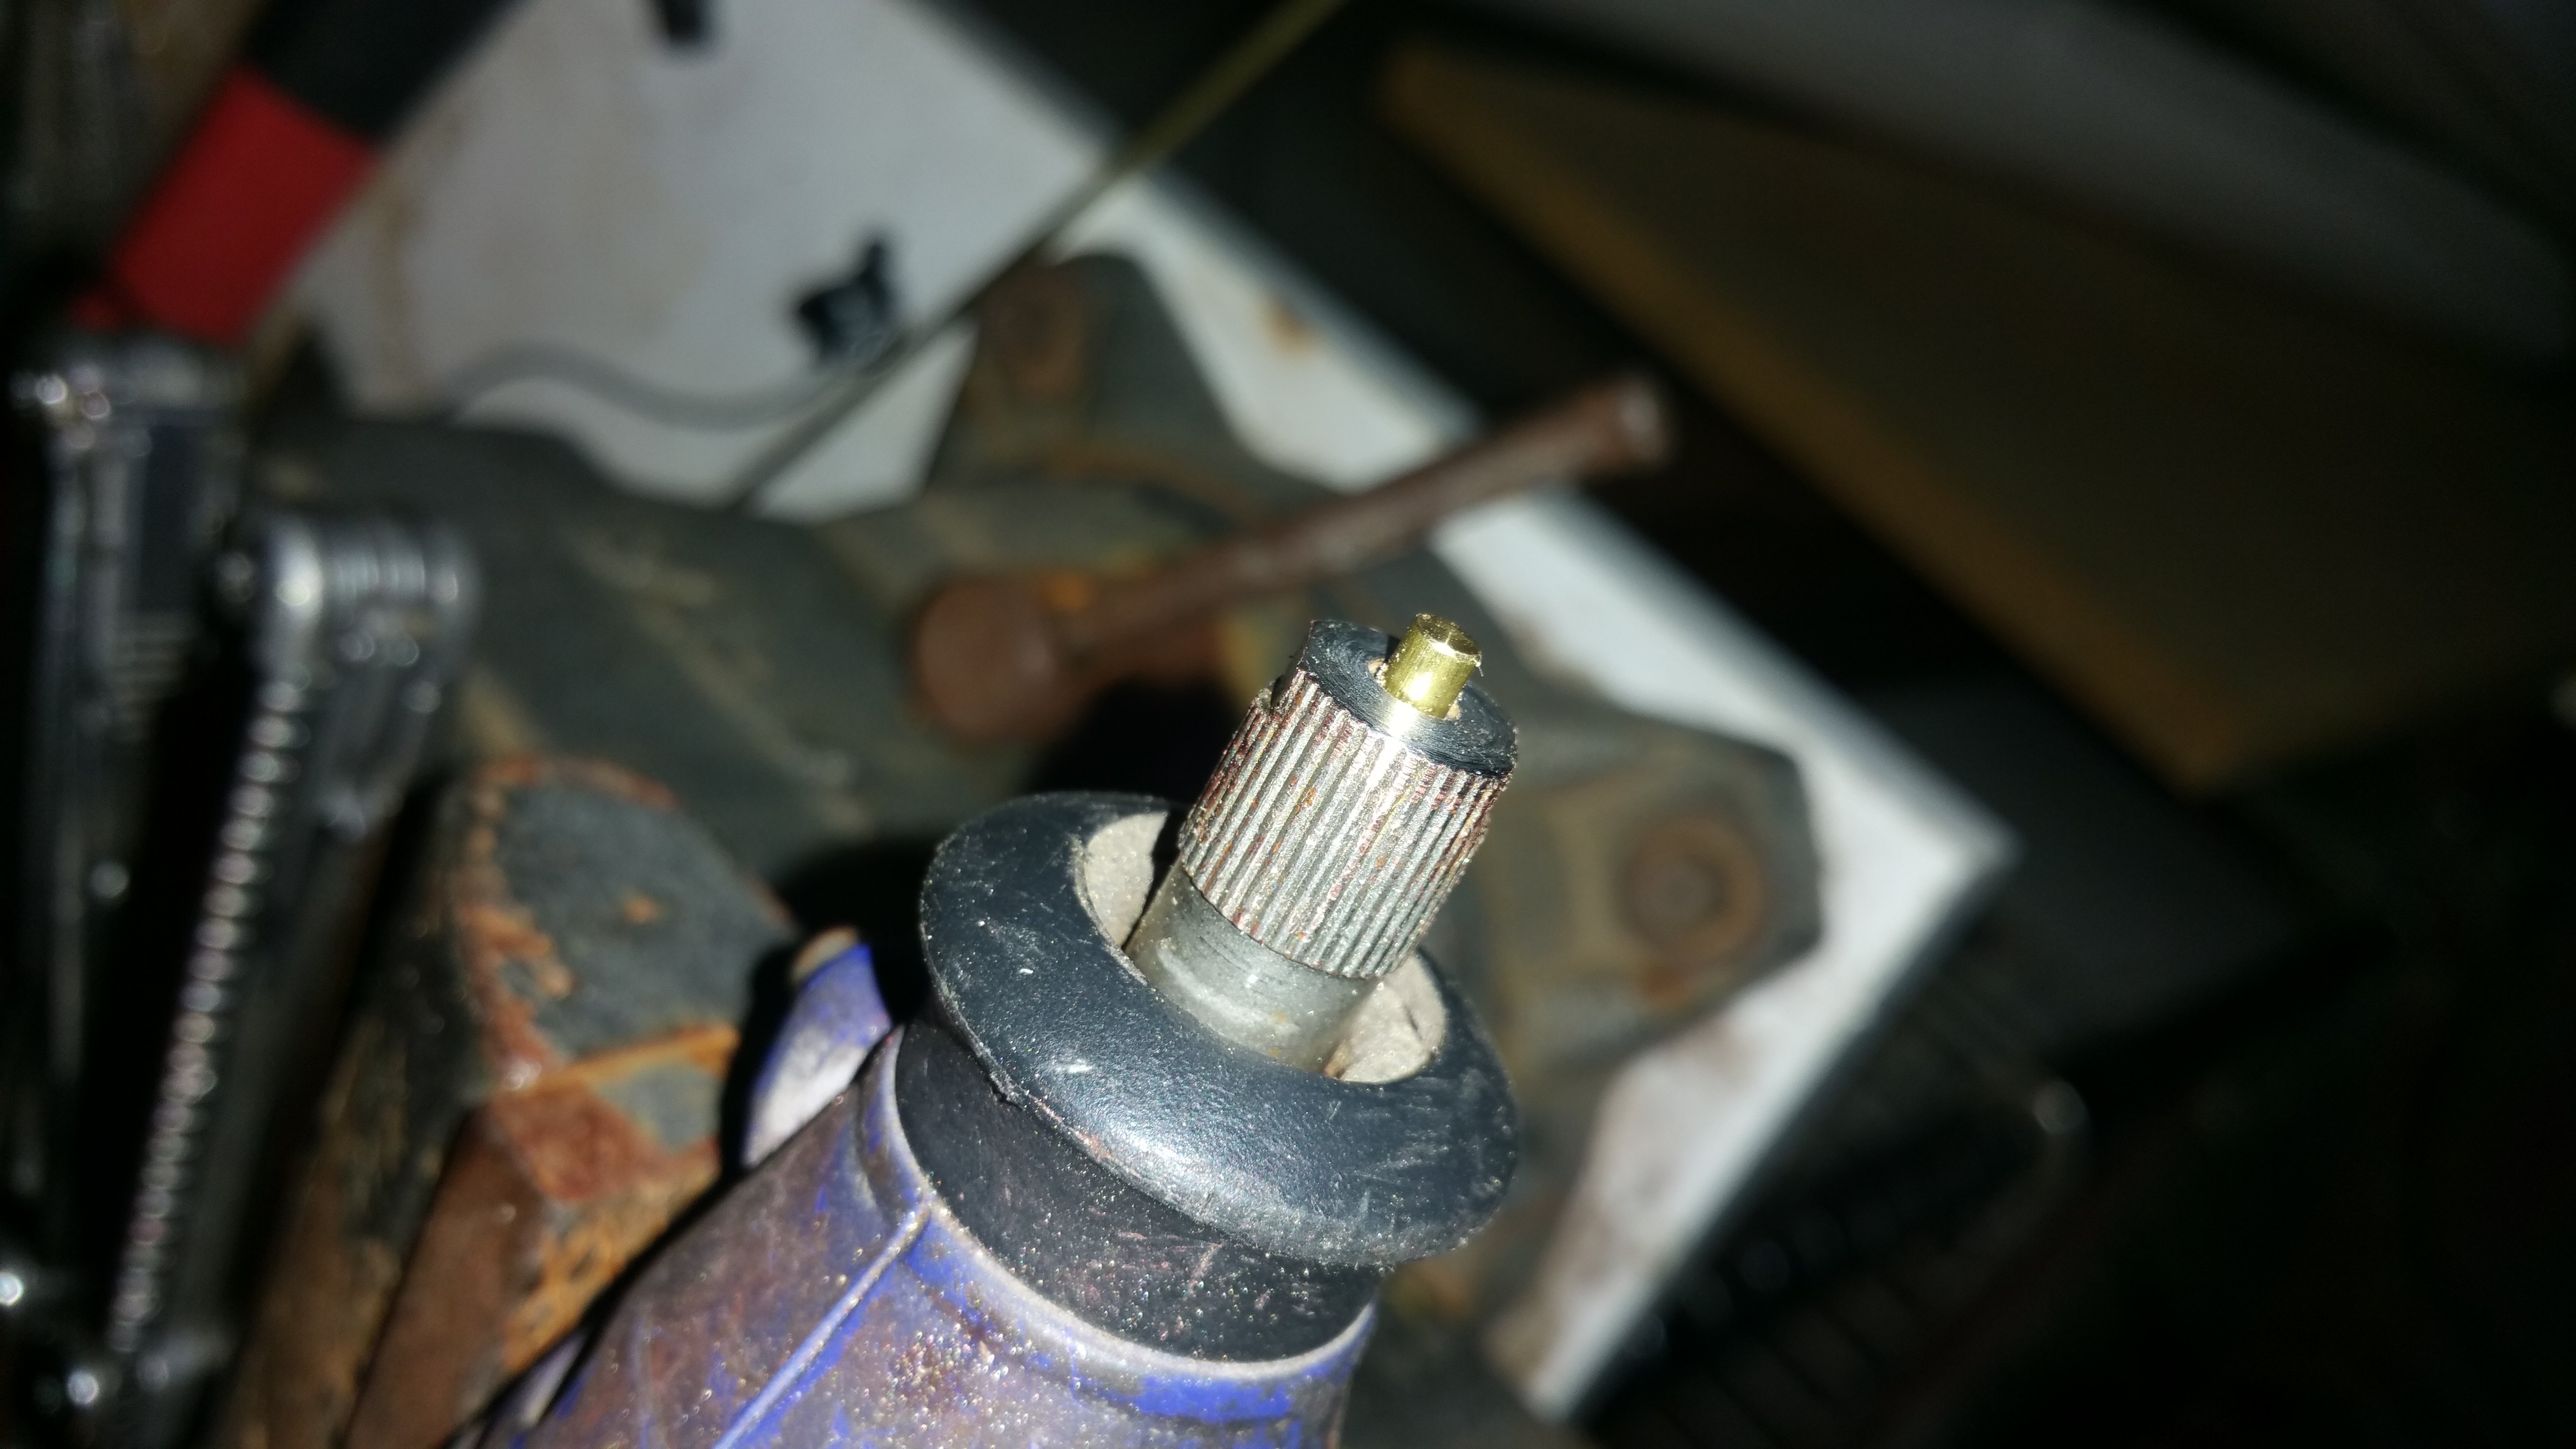
FIG 3) Screwdriver or other tool to take out retainer
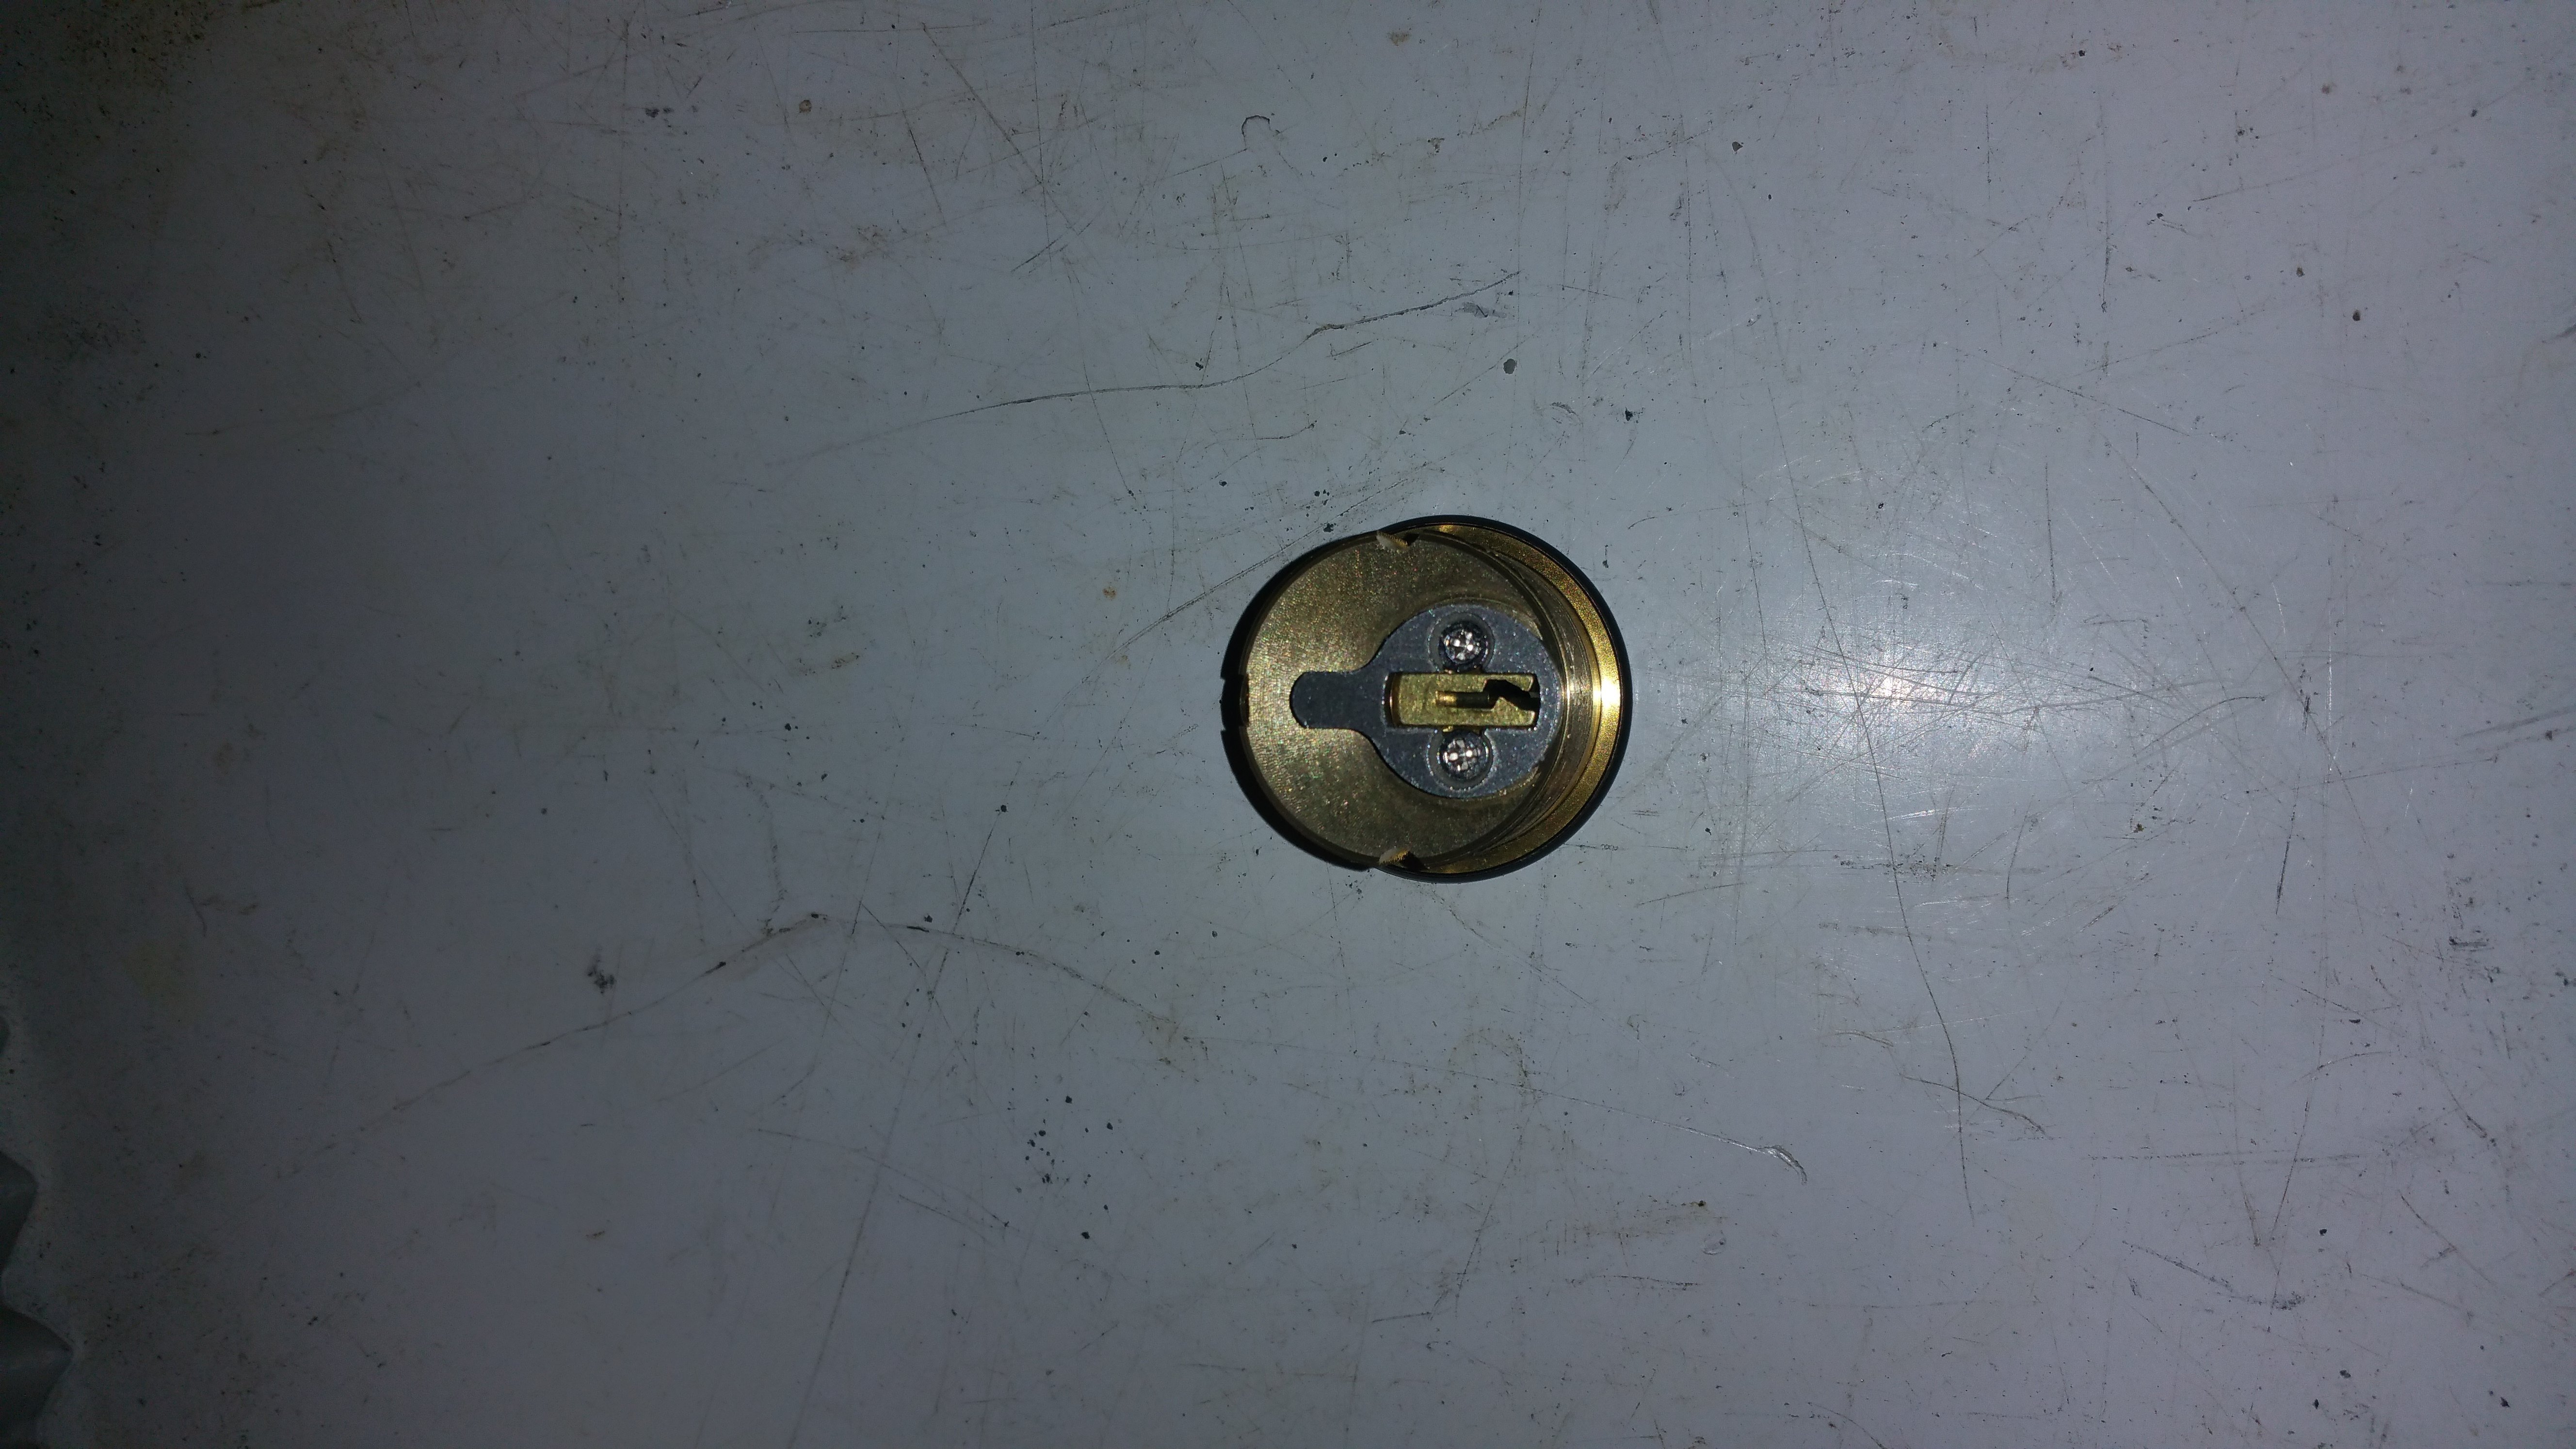
FIG 4) Remove the retainer
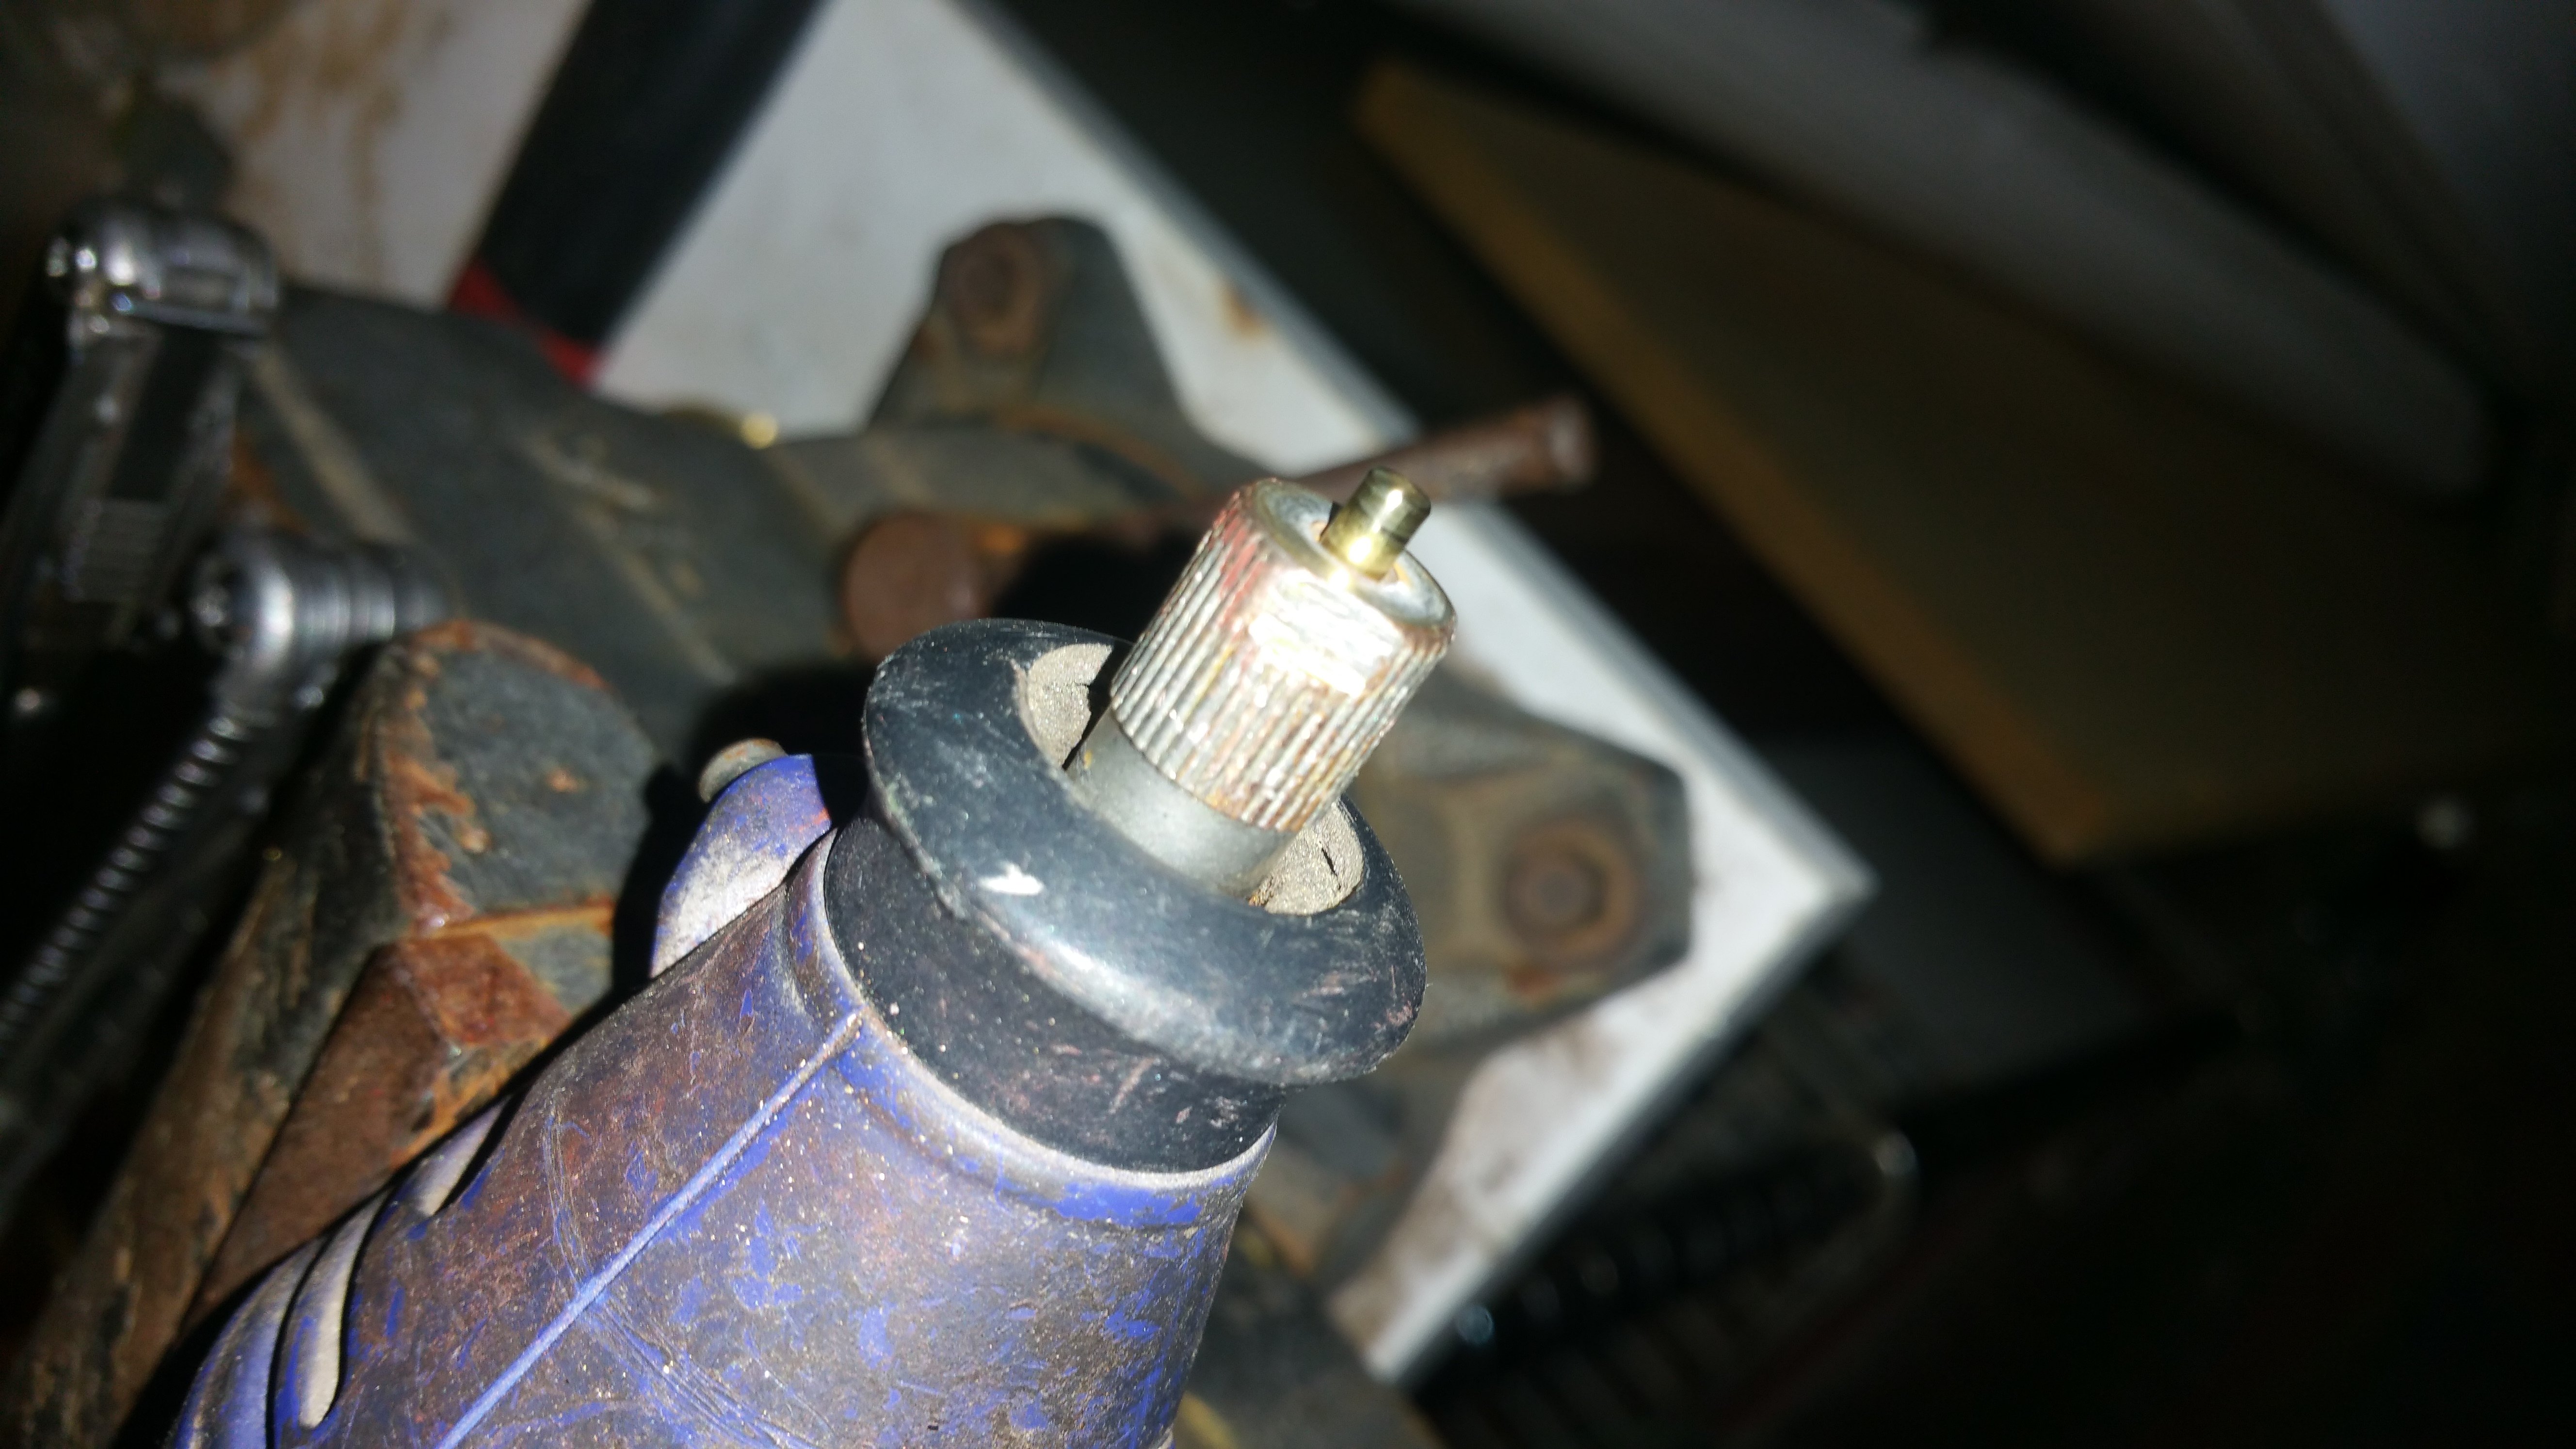
FIG 5) Put a pin in the dremel, trying to leave as much exposed as you can.
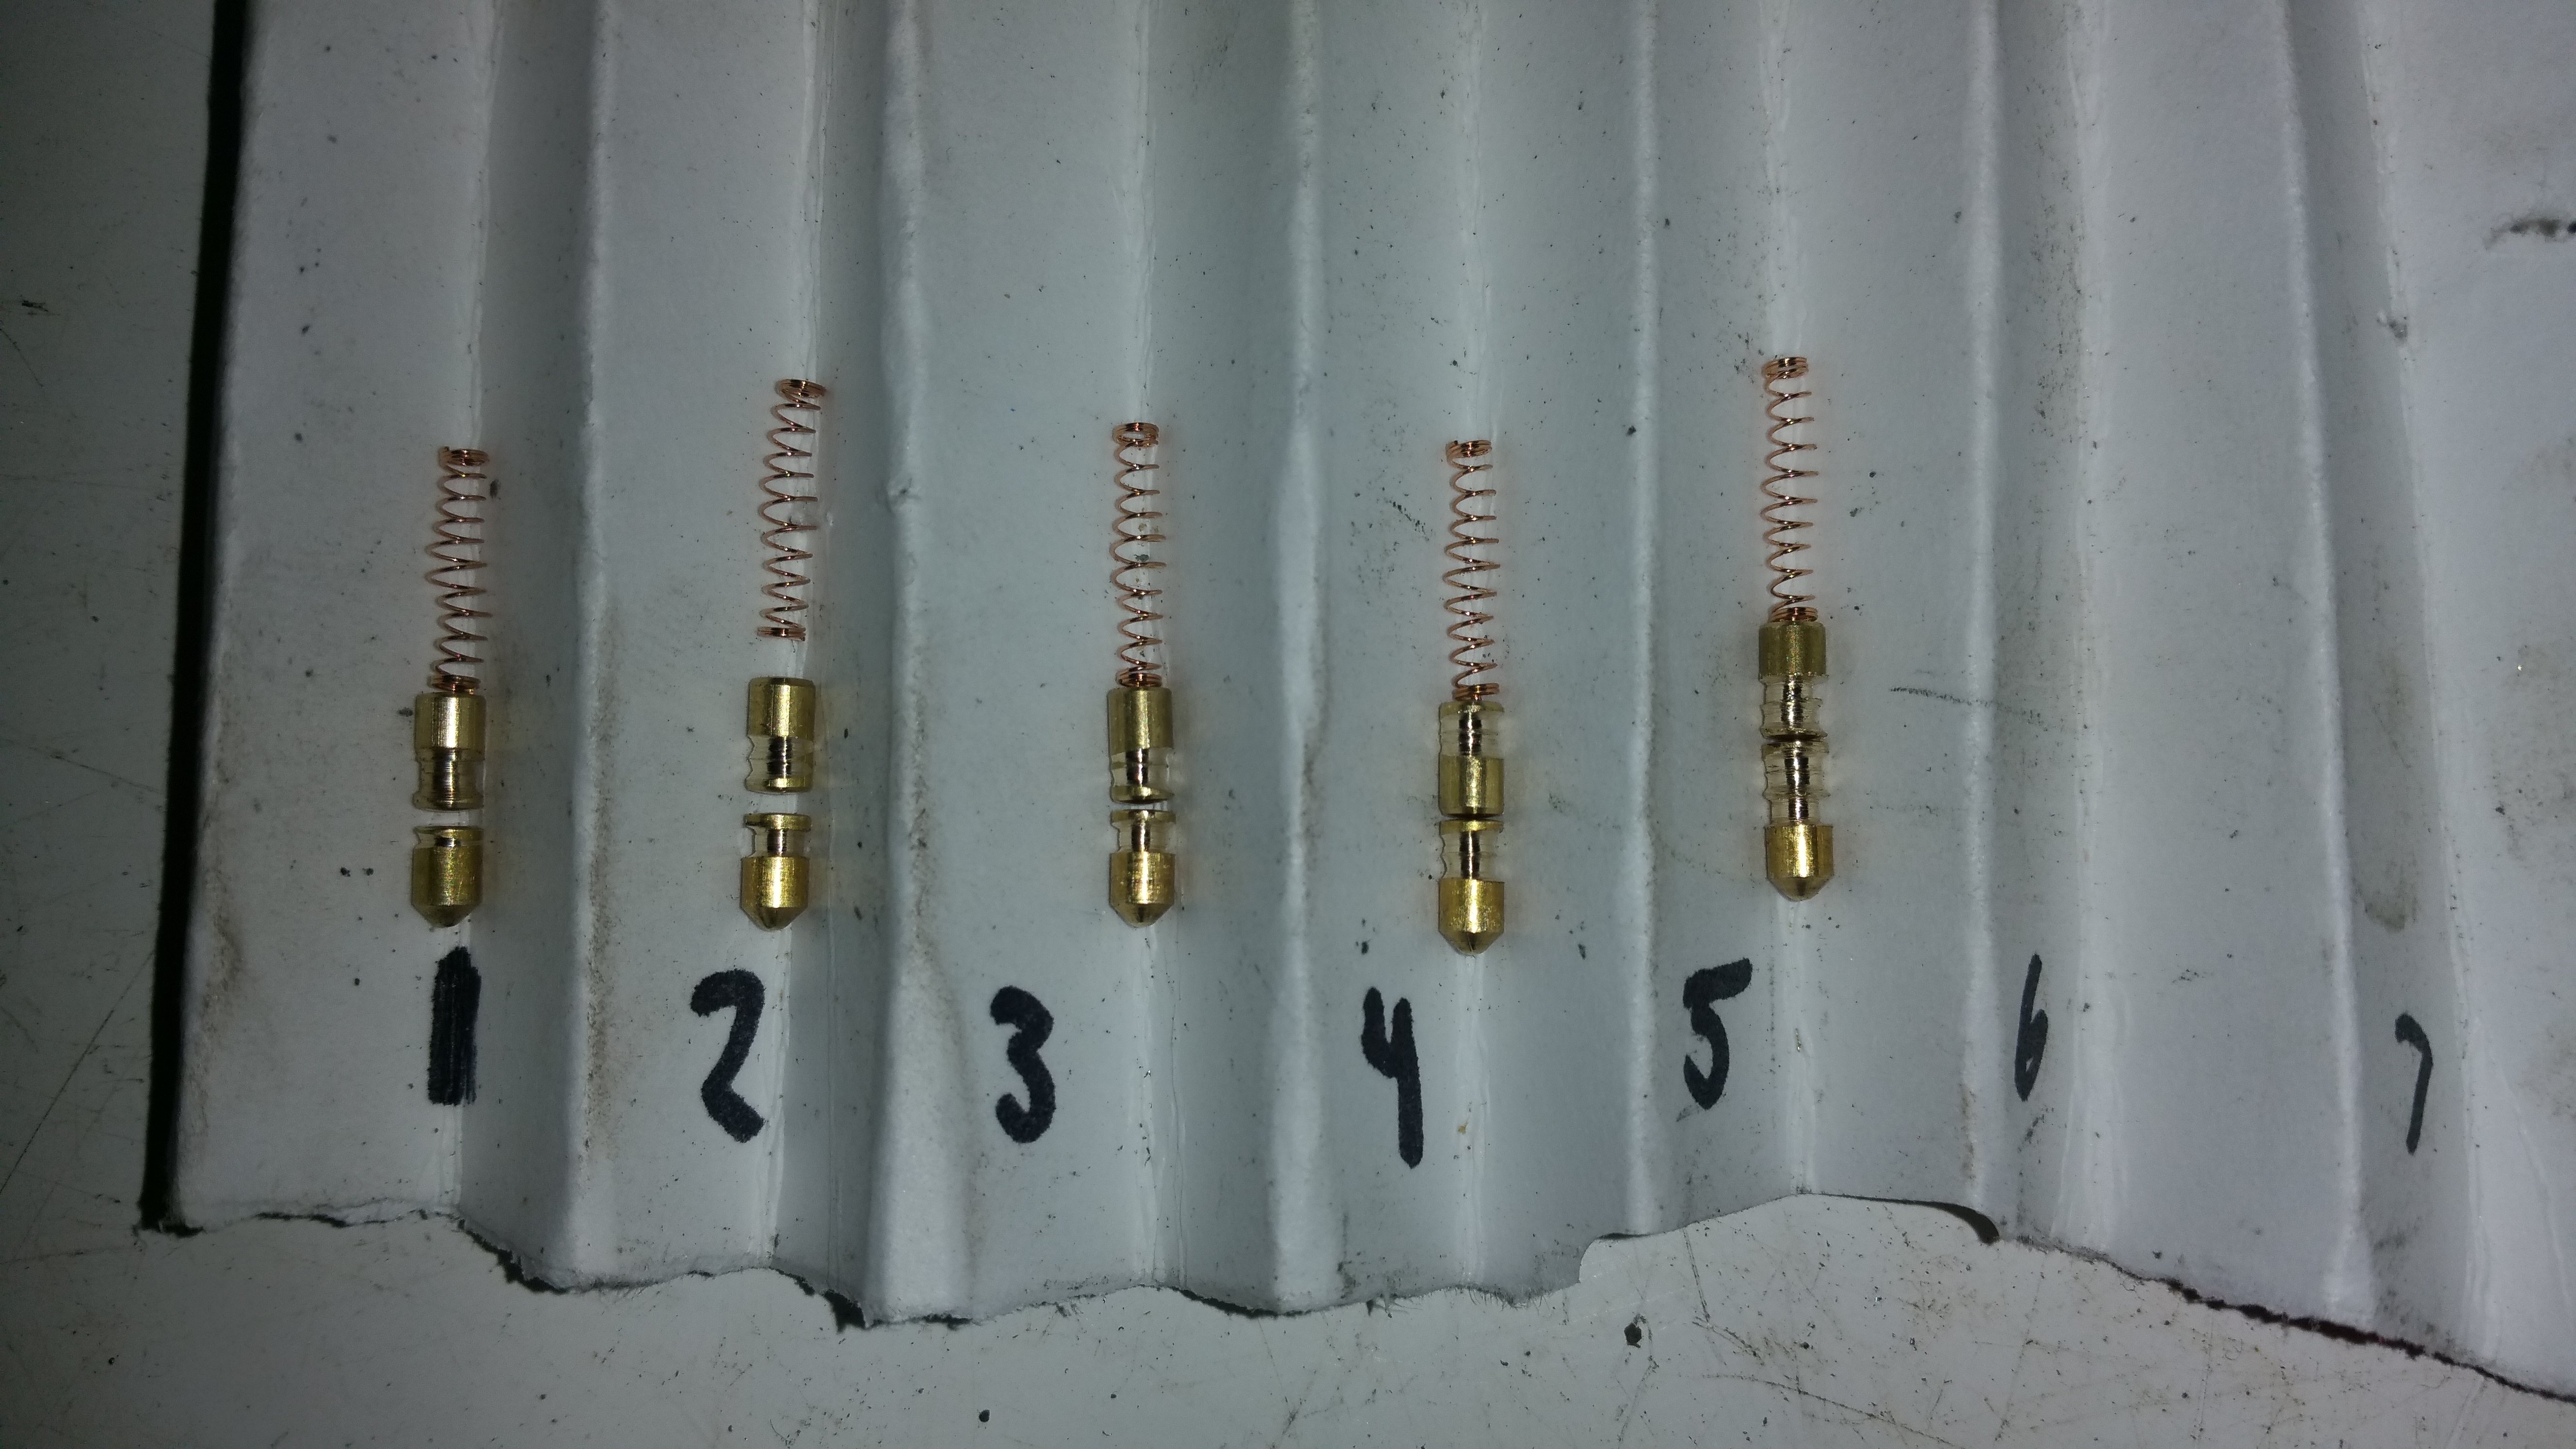
FIG 6) Aim to cut serrations or spool shapes into the pin.