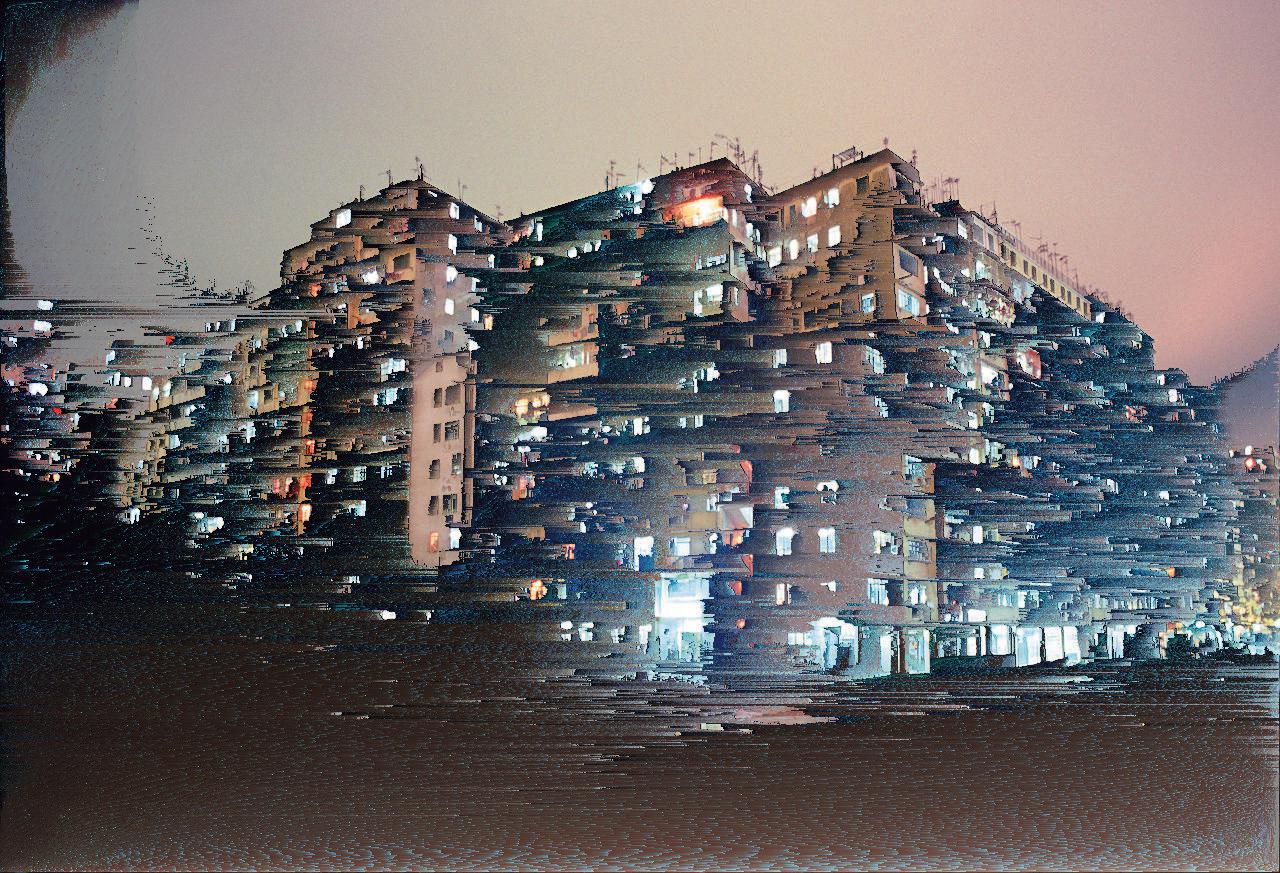
[3] Art of the Glitch
| 2 minute read | Using 214 words
By Anonymous
What you’ll need:
- Audacity.
- An image program that can save as TIFF such as Adobe Photoshop or Gimp (MSpaint doesn’t work well for some reason).
What to do:
Convert the image to .tiff or .tif format in GIMP open it up in audacity by starting a new project and importing it as raw data (you HAVE to pick A-law as an option when importing).
- Play the track.
- Cool crackly noises.
Now let’s fuarrrk this bitch up:
Avoid modifying the beginning of the track, that’s where the guttywats of the image are, and it wouldn’t work without it being intact.
- Apply echo, reverb, wahwah, phaser, normalization, noise reduction, anything you fuarrrking want.
- Export as headerless raw data (you have to pick A-Law again when exporting).
- Erase .raw extension and replace it with .tif again.
Notes
Image import goes from top to bottom, appears left to right in audacity.
- Complex colors/areas of the image have more noise.
- Don’t edit the header!
- Creating more noise in the rendered audio file creates more color.
- Patches of silence appear as a small field of grey pixels in Photoshop.
- Simple waveforms appear in Photoshop almost as they do in Audacity, sort of, I guess.
- Working with stereo tracks, one can achieve opacity, though the level may be fixed.
Page link: /posts/zine3/art_of_the_glitch_3/